
Introduction to Back Lever
Welcome to the world of callisthenics, where strength, agility, and grace converge. Today, we delve into the back lever, a formidable exercise that challenges and showcases true muscular control. Originating in the art of gymnastics, the back lever has made a notable transition into the realm of callisthenics, gaining popularity for its ability to develop impressive upper-body strength and core stability.
Disclaimer:
This content is provided for informational and educational purposes only and is the result of insights from our experienced trainers and advisors. However, it is not a substitute for professional fitness advice. Before beginning any new exercise regimen, including the back lever, we strongly recommend consulting with a qualified fitness trainer to ensure it is appropriate for your individual health and fitness level. Always prioritize safety and professional guidance when engaging in physical activity.
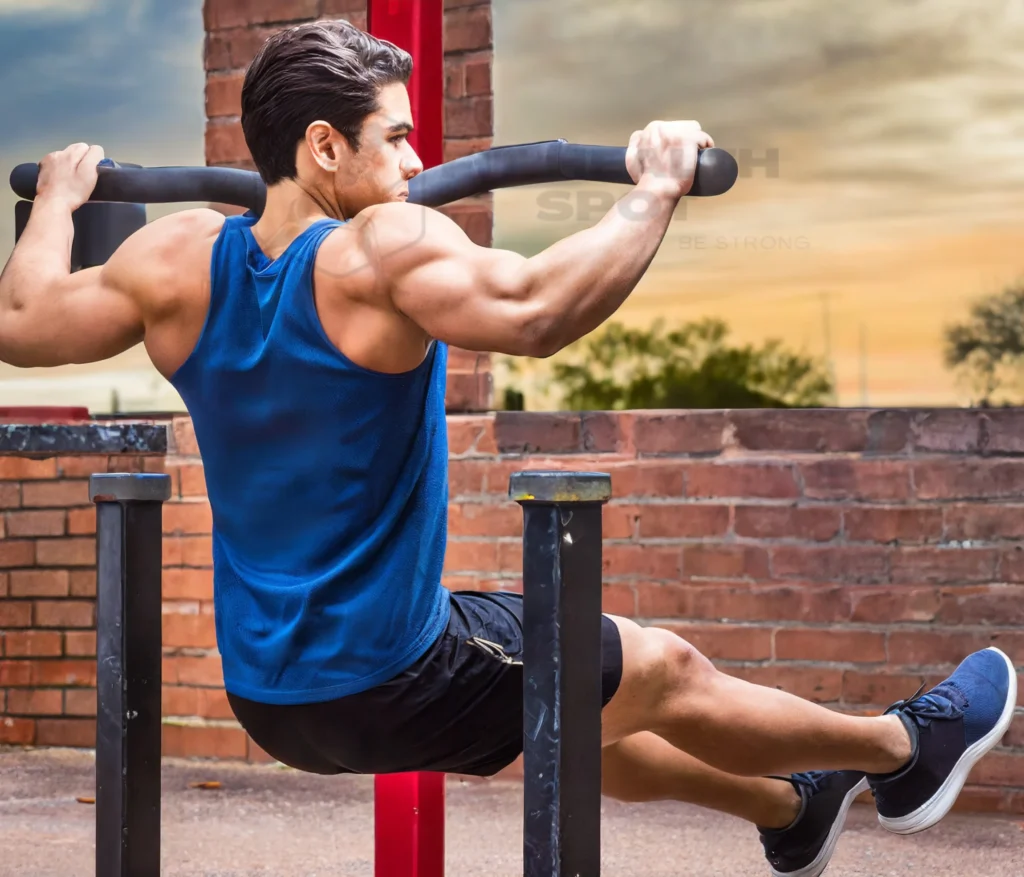
The back lever is not just an exercise; it’s a testament to human strength and flexibility. Imagine holding your body parallel to the ground, suspended only by your arms. This powerful move targets a wide range of muscle groups, with a particular focus on the back, making it a coveted skill among fitness enthusiasts. As we explore the nuances of the back lever, you’ll understand why it’s considered a pinnacle achievement in callisthenics. Its history in gymnastics speaks to its complexity and effectiveness, a challenge eagerly embraced by those seeking to push their physical limits.
Detailed Description of the Back Lever Exercise
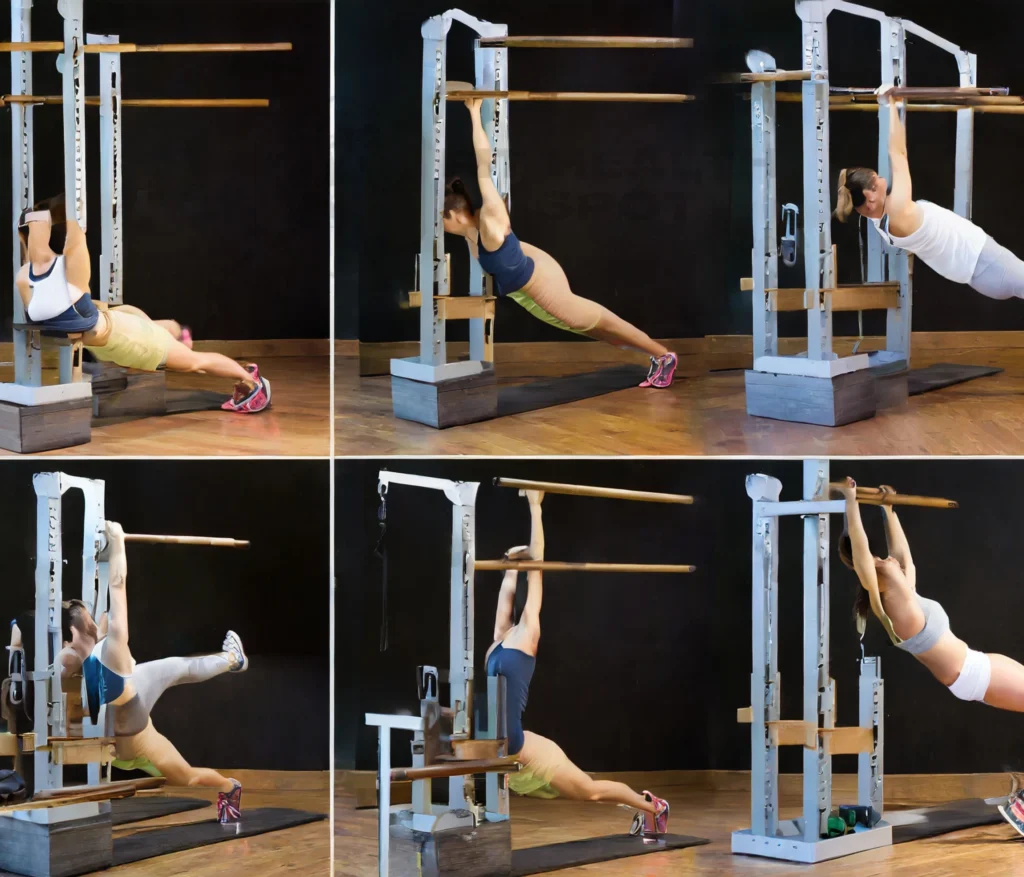
The back lever exercise is a journey of strength and skill. Let’s break it down step-by-step:
- Start with a Basic Hang: Start by gripping the pull-up bar with your hands in an overhand position while hanging. Ensure your arms are straight, shoulders engaged, and body in a straight line.
- Engage Your Core and Shoulders: Activate your core muscles and pull your shoulders back. This engagement is crucial for stability throughout the exercise.
- Move into the Tuck Position: Gradually lift your legs and hips towards the bar, keeping your knees close to your chest. This ‘tuck’ position is your starting point for the back lever.
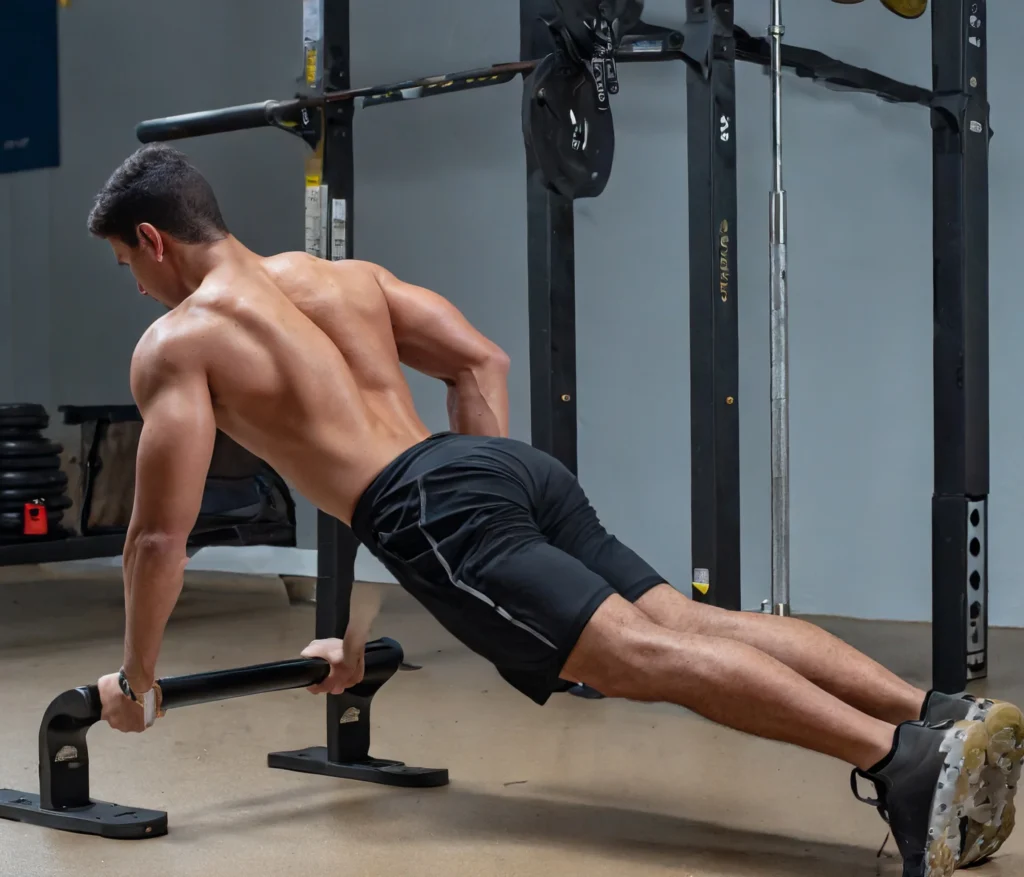
- Extend into the Lever Position: Slowly extend your body away from the bar, aiming to get your body parallel to the ground. Keep your legs together and your body straight.
- Maintain the Position: Once in the lever position, hold your body straight and parallel to the ground. Your eyes should be looking forward, and your arms fully extended.
- Exit Safely: To exit, either pull back into the tuck position and lower down or drop your legs and swing down safely.
Safety Tips and Common Mistakes:
- Avoid arching your back; keep your body in a straight line.
- Don’t rush the progression; build your strength gradually.
- Ensure proper warm-up to avoid injury.
For further strengthening of the lat muscles, which are crucial in the back lever, visit this comprehensive guide on lat exercises.
Instructional Guide: How to Do a Back Lever
For beginners, mastering the back lever starts with understanding its fundamentals. Here’s a detailed guide:
1. Beginner’s Preparation:
- Start with basic strength training exercises like pull-ups, push-ups, and planks.
- Focus on developing strong core, back, and arm muscles.
2. Initial Positioning:
- Suspend yourself from a bar using an overhand grip while maintaining a straight body position.
3. Entering the Tuck Lever:
- Bring your knees towards your chest while maintaining a strong grip.
- Slowly raise your hips towards the bar, keeping your back rounded.
4. Progressing to Advanced Tuck:
- Once comfortable, slowly start to open your back, moving from a rounded position to a more extended one.
- Keep your knees tucked.
5. Extending to a Straddle Lever:
- Extend your legs out to a straddle position while keeping your hips high.
- This position reduces leverage, making it easier to maintain balance.
6. Full Back Lever:
- Gradually extend your legs together, straightening into a full lever.
- Keep your body in a straight line from head to toe.
Common Mistakes to Avoid:
- Rushing the Progression: Take your time to build strength and technique.
- Neglecting Form: Always maintain a straight line; avoid sagging or arching.
- Improper Breathing: Breathe steadily to maintain tension and control.
The Science Behind the Exercise: Lever Length in Exercise
The back lever is not just a test of strength; it’s a fascinating study in biomechanics, especially regarding lever length. Understanding this can enhance both your performance and appreciation of the exercise.
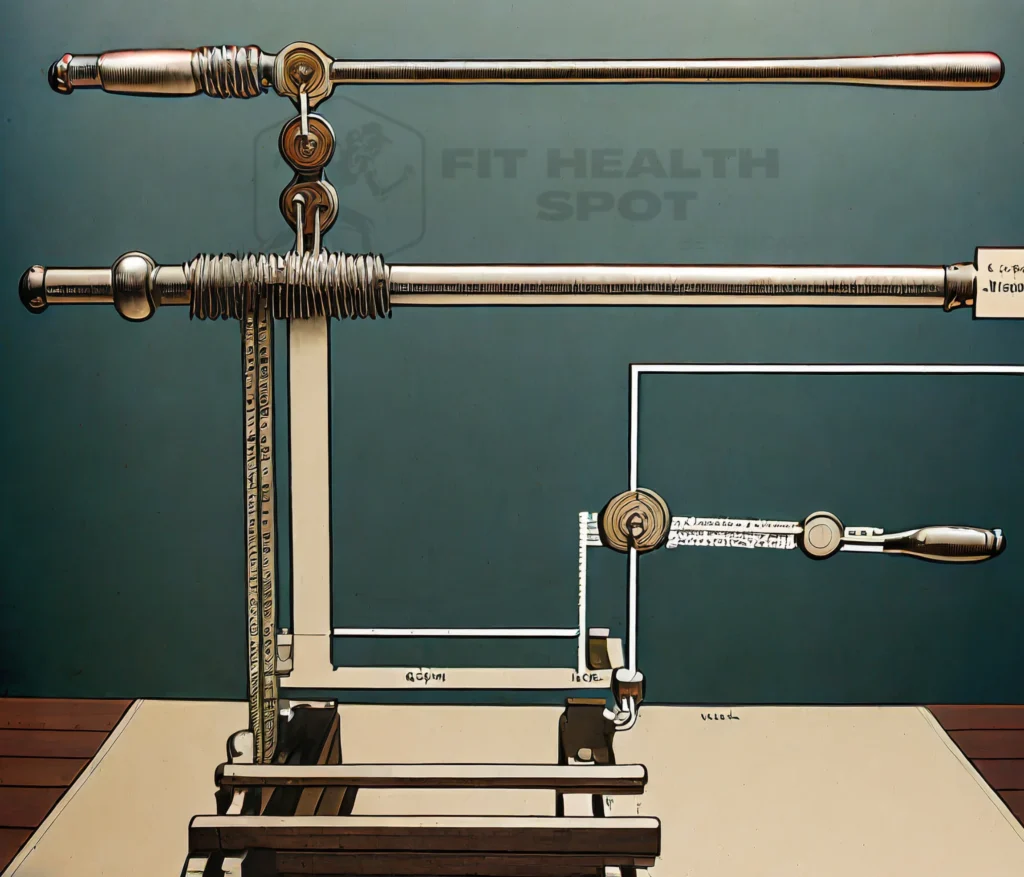
- Lever Length Explained: In biomechanics, ‘lever length’ refers to the distance between the point of force application (in this case, the hands gripping the bar) and the load (the body). A longer lever length increases difficulty as it requires more force to maintain the same position.
- Impact on Muscle Engagement: The longer the lever (a straight body in the back lever), the more strain on the muscles, particularly the lats, deltoids, and core. This is why progressing gradually from a tuck position (shorter lever) to a full lever is essential.
- Lever Mechanics in Action: During a back lever, your body acts as a rigid lever, with the arms applying force to counterbalance the weight of your lower body. This balance is crucial for maintaining the horizontal position.
4. Training for Optimal Lever Length: Strengthening exercises that target these muscles can improve your ability to handle the stress of a longer lever length. Exercises like hyperextensions are great for building this strength
Calisthenics and the Back Lever
The back lever holds a prestigious position in callisthenics, renowned for its ability to build exceptional core, back, and arm strength. Let’s explore how this exercise integrates into a calisthenic routine:
- A Core Component of Strength Training: The back lever is pivotal in callisthenics for developing upper body and core strength. It uniquely challenges the body, promoting balance and muscle coordination.
- Progression and Versatility: It fits perfectly into the progression-based nature of callisthenics. As practitioners advance, they can move from simpler exercises to the more challenging back lever, demonstrating their increasing strength and skill.
- Synergy with Other Exercises: The back lever complements other calisthenic exercises like pull-ups, dips, and muscle-ups. The strength gained from the back lever aids in performing these exercises more effectively.
- Incorporating into Routines: For those looking to incorporate the back lever into their routines, it’s advisable to start with foundational exercises. Enhance your back strength with effective lat workouts.
Requirements for Performing a Back Lever
Successfully performing a back lever requires a combination of physical strength, skill, and technique. Here’s a checklist to assess if you’re ready:
- Upper Body Strength: Strong arms, shoulders, and chest are crucial. You should be comfortable with pull-ups and dips.
- Core Strength: A robust core is essential for stability. Skills like planks and leg raises help build this strength.
- Back and Lat Strength: Exercises like rows and lat pull-downs are vital to prepare your back.
- Flexibility and Mobility: Good shoulder mobility and general body flexibility aid in achieving the correct form.
- Basic Calisthenics Skills: Familiarity with basic callisthenics movements lays a solid foundation for attempting the back lever.
- Mental Preparedness: Patience and perseverance are key, as mastering the back lever can take time.
Self-Assessment Guide:
- Can you perform at least 10 pull-ups and dips?
- Are you comfortable holding a plank for over a minute?
- Do you have experience with basic callisthenics movements?
Benefits of the Back Lever
Mastering the back lever offers a host of physical and mental benefits:
- Enhanced Core Strength: It significantly strengthens the core muscles, which is essential for overall body stability.
- Improved Upper Body Strength: Targets muscles in the arms, shoulders, and back, leading to improved upper body strength.
- Better Body Control and Balance: Develops a greater sense of body control and balance.
- Increased Flexibility: Promotes shoulder and back flexibility.
- Mental Resilience: Challenges and enhances mental toughness and focus.
- Aesthetic Development: Contributes to a more defined and toned physique.
- Functional Strength: Improves functional strength, useful in everyday activities.
These benefits highlight the holistic impact of the back lever, making it a valuable addition to your fitness routine.
Comprehensive Guide on Back Lever Progressions
Progressing to a full back lever involves several stages. Here’s a detailed guide to each progression:
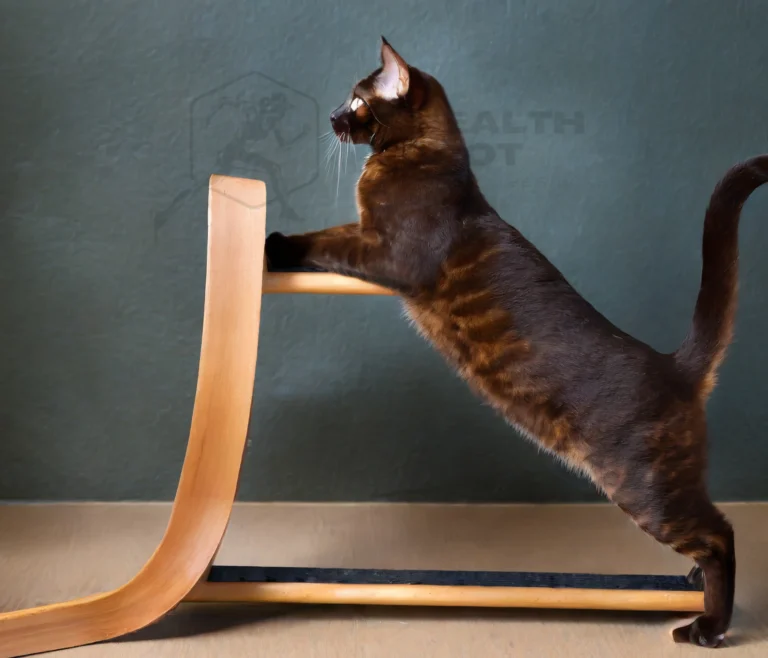
1. Skin the Cat: Start with this basic exercise to develop shoulder flexibility and strength.
- Tip: Focus on controlled movements.
- Challenge: Overstretching shoulders.
- Solution: Gradually increase the range of motion.
2. Tuck Back Lever: Begin with your body tucked while holding the lever position.
- Tip: Keep your knees close to your chest.
- Challenge: Maintaining balance.
- Solution: Practice hanging knee raises to strengthen your core.
3. Advanced Tuck: Slowly extend your back while keeping your knees tucked.
- Tip: Increase hold time gradually.
- Challenge: Lower back strain.
- Solution: Strengthen your lower back with exercises like hyperextensions.
4. One-Leg Back Lever: Extend one leg while the other remains tucked.
- Tip: Alternate the extended leg.
- Challenge: Asymmetrical strain.
- Solution: Ensure equal training for both sides.
5. Straddle Back Lever: Extend both legs in a straddle position.
- Tip: Work on your flexibility.
- Challenge: Keeping hips up.
- Solution: Practice straddle leg lifts.
6. Full Back Lever: Finally, extend both legs fully.
- Tip: Focus on form over duration initially.
- Challenge: Full body tension.
- Solution: Incremental increases in hold time.
For an in-depth look at advanced back lever techniques, consider visiting this comprehensive resource.
Conclusion
In conclusion, the back lever is an advanced callisthenics exercise that offers a unique blend of physical and mental benefits. From enhancing core and upper body strength to improving balance and mental resilience, the journey to mastering the back lever is as rewarding as it is challenging. By following the step-by-step progressions and understanding the biomechanics involved, practitioners can safely and effectively work towards achieving this impressive feat. Remember, patience and consistency are key. Embrace each stage of the journey and witness the transformative power of the back lever in your fitness routine.